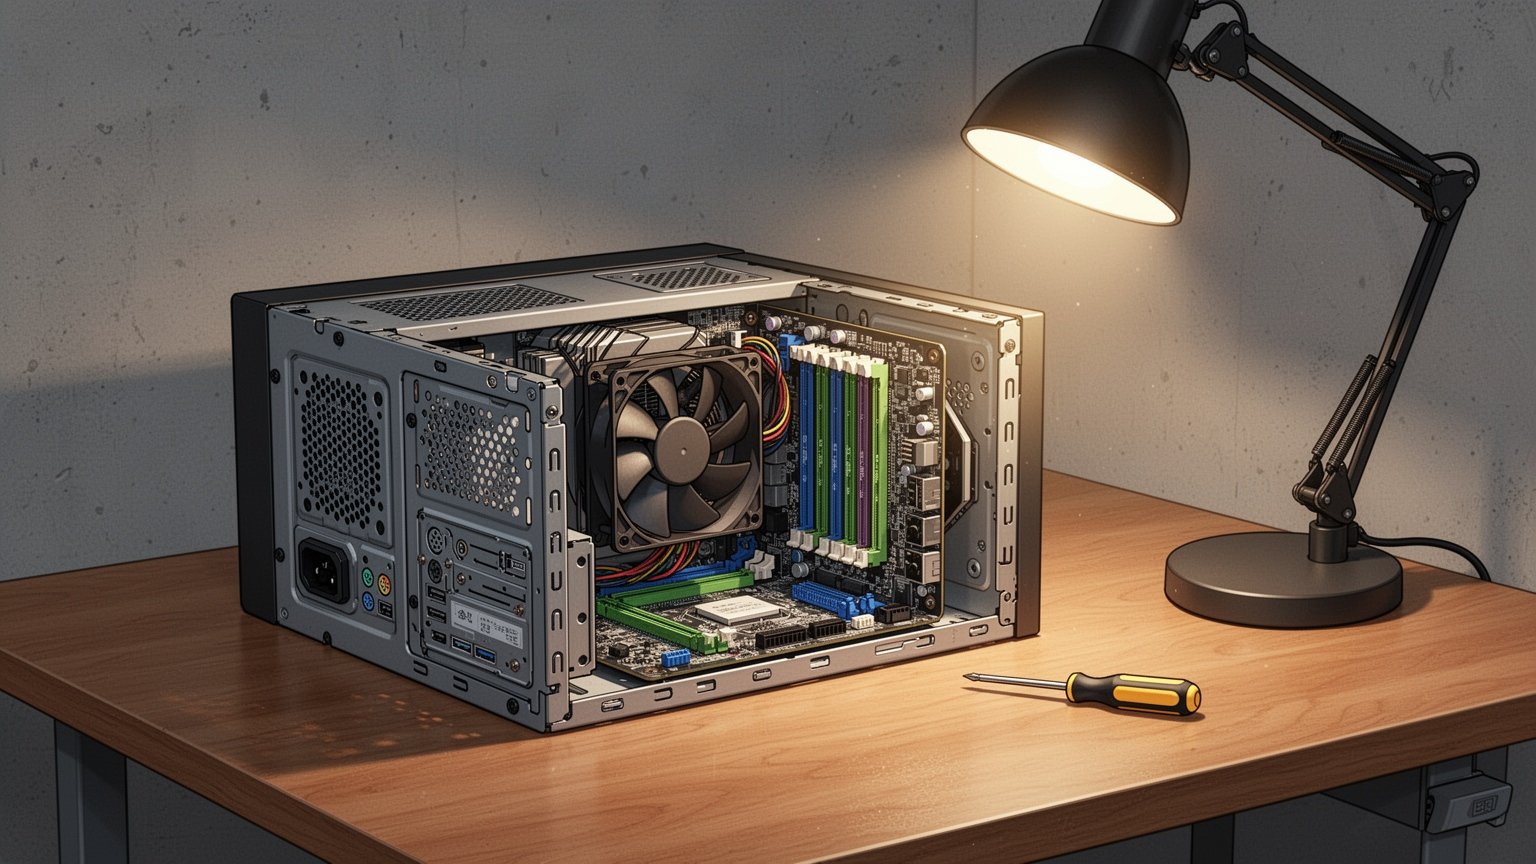
You press your computer’s power button, the screen stays completely black, and a sharp, repetitive beeping rings out from inside the case. It is clearly a hardware problem, but with no display, it is hard to tell which component is failing. Here is how to decode your PC’s audio SOS signals.
Quick Summary
- 1 short beep: System normal. If there is no display, check monitor power and video cables.
- 1–3 short beeps or continuous long beeps: Memory (RAM) contact error. Test sticks individually across slots.
- 1 long, 3 short beeps (or 8 short beeps): Graphics card error. Check PCIe auxiliary power cables.
- Emergency fix: Unplug power → discharge residual electricity → clean gold contacts with an eraser, clear dust, and reseat.
What Does the PC Beeping Actually Mean?
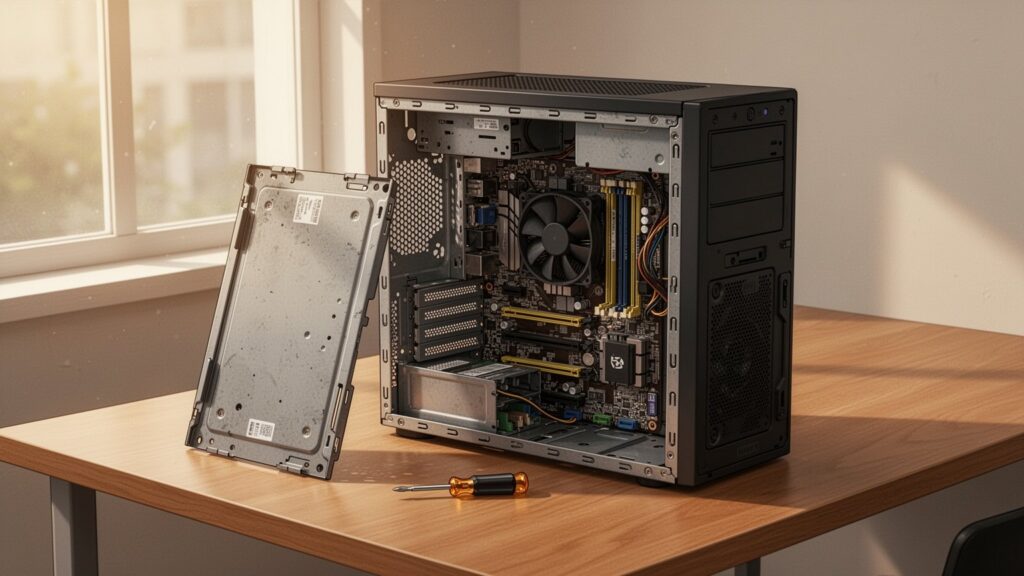
When you power on a computer, the motherboard’s BIOS checks every core component before loading the operating system. This routine is called the Power-On Self-Test (POST). If the motherboard detects a hardware defect severe enough to prevent video output, it triggers an onboard buzzer speaker to alert you.
It works just like a car dashboard lighting up warning indicators briefly when you turn the key. If every component passes inspection, the motherboard emits a single short beep and continues booting normally.
If you hear that single short beep but the screen remains dark, your internal components are working fine. The issue is almost certainly an unplugged monitor, a powered-off display, or a loose HDMI/DisplayPort cable.
Recommended Reading
PC Turns on but No Signal to Monitor: Why Cleaning RAM with an Eraser Works
PC Fan Loud at Idle? How to Fix 100% CPU Usage
How to Identify Faulty Parts by Beep Code
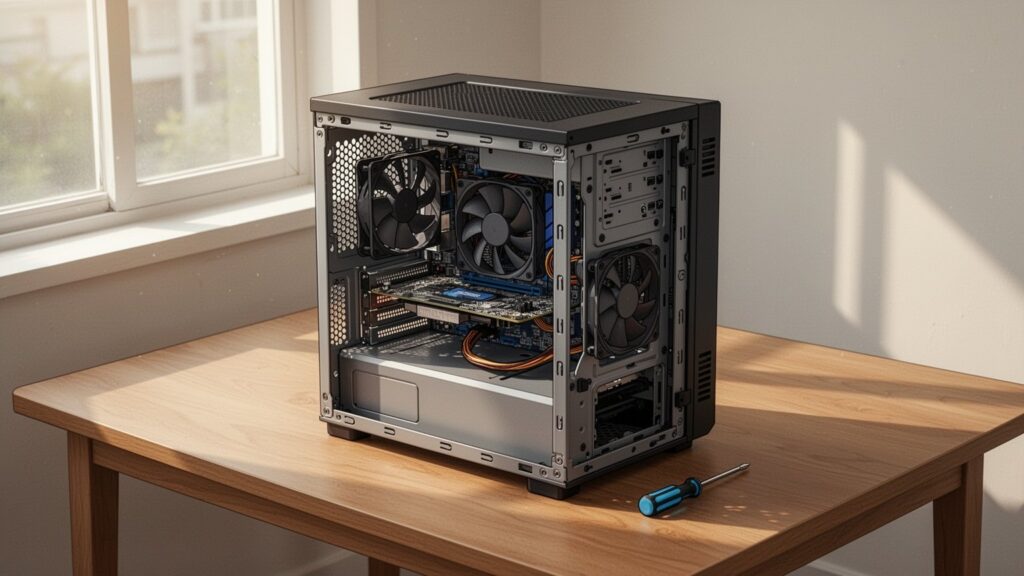
Beep codes vary by tone length and repetition. Here are the most common patterns across major BIOS standards:
| BIOS Vendor | Beep Pattern | Component and Status |
|---|---|---|
| ASUS | 1 Long, 2 Short | Memory (RAM) detection error |
| ASUS | 1 Long, 3 Short | Graphics card (VGA) error or display cable signal delay |
| ASUS | 1 Long, 4 Short | CPU fan error, overheating, or power delivery issue |
| AMI | 1–3 Short | DRAM refresh / base 64KB RAM test failure (memory error) |
| AMI | 5 Short | Processor (CPU) error |
| AMI | 8 Short | Video memory (VRAM) read/write error (graphics card issue) |
| Award | Continuous Long | Memory (RAM) contact failure |
| Award | 1 Long, 2 Short | Graphics card (VGA) detection failure |
Keep in mind that patterns differ by manufacturer. For instance, “1 long, 2 short” indicates a RAM issue on ASUS boards, but signifies a graphics card error in Award BIOS. Furthermore, while 5 short beeps indicate a CPU failure under standard AMI guidelines, some ASRock motherboards trigger 5 short beeps when a dedicated graphics card is unseated or undetected. If you hear this pattern, check both components.
4-Step Eraser Cleaning Fix for Faulty Contacts
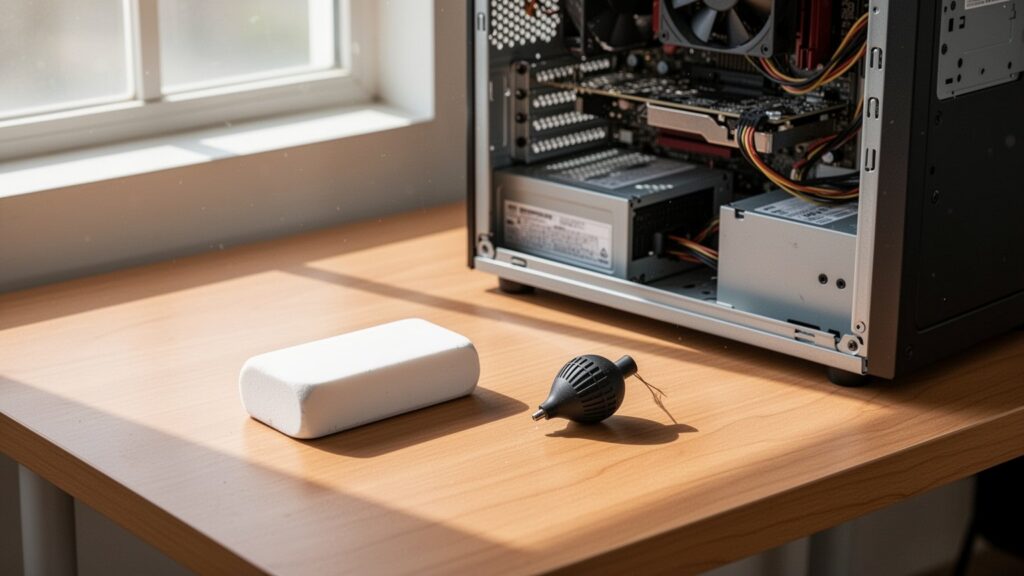
Most startup beeps do not stem from dead hardware, but from poor contact caused by fine dust and humidity. A microscopic layer of oxidation builds up over the gold pins (“gold fingers”) at the base of the card, disrupting the electrical signal. A standard pencil eraser removes this oxidation layer without scratching off the gold plating. While claims of repair cost savings can be overstated, using an eraser to clean contact pins is standard practice documented in official hardware maintenance manuals.
Step 1: Cut power and discharge residual charge. Switch off the power supply, unplug the AC cable, and press the PC’s power button 3 to 4 times. This discharges any residual current trapped in the capacitors, preventing short circuits. Step 2: Unclip the retaining latches on both sides of the slot and pull the RAM or graphics card straight out.
Step 3: Gently rub both sides of the gold contact pins with an eraser. Once finished, use a clean brush or compressed air to thoroughly remove all eraser shavings from the module and slots. Step 4: Align the notch on the stick with the slot key, then press down evenly on both ends until the side clips click firmly into place. If you use a dedicated graphics card, make sure your monitor cable is plugged directly into the graphics card port, not the motherboard video output.
Always unplug the power cord and press the power button 3 to 4 times to discharge residual electricity before opening your PC case.
Related Articles
- PC Sleep Mode vs. Shut Down: Does It Really Affect Power Bills and Component Lifespan?
- Slow PC Startup? How to Disable Windows Startup Programs
- Frozen Windows Screen? The 1-Second Shortcut to Restart Your Graphics Driver Without Rebooting
- How to Transfer Smartphone Photos to PC in Original Quality Without Compression
답글 남기기