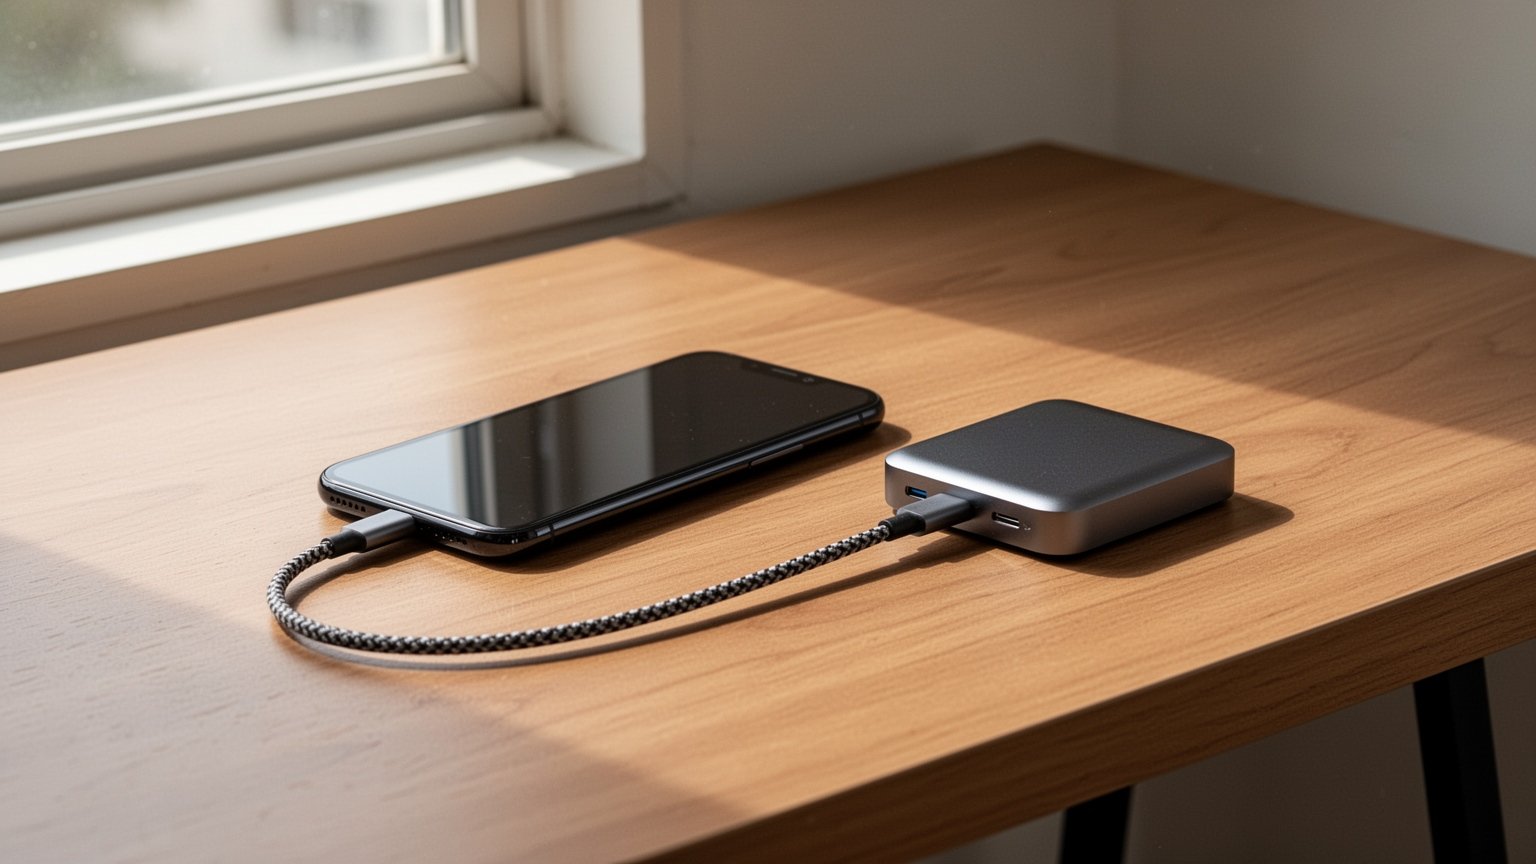
When your phone storage runs out, do you quickly send dozens of photos to a chat room to back them up? Later, when you download them on your PC and zoom in, they look blurry, and the capture date and location data are gone. How can you back up your photos to a computer in their original quality without losing data?
Key Takeaways
- Standard messaging app transfers compress resolution and strip EXIF data (date, camera model, GPS), making them unsuitable for backups.
- Galaxy users can connect via USB-C cable to copy the ‘DCIM > Camera’ folder or use the ‘Smart Switch PC’ app.
- iPhone users must set ‘Settings > Photos > Transfer to MAC or PC > Keep Originals’ before connecting to Windows to prevent transfer errors.
- If you don’t have a PC or want to avoid paid cloud storage, back up directly using a USB-C external SSD or OTG flash drive.
Why Messaging Apps Degrade Photo Quality and Metadata
Sending photos through messaging apps is like cutting up an original document with scissors to cram it into a postcard instead of mailing the package safely.
Chat apps typically offer compression options such as low quality, standard quality, or original. Selecting low or standard quality compresses the image resolution and automatically deletes EXIF metadata, which includes camera model, timestamp, aperture, ISO, and GPS location.
| Quality Setting | Resolution Compression | EXIF Metadata | File Name Preserved |
|---|---|---|---|
| Low / Standard | Compressed | Auto-deleted | Changed randomly |
| Original | Preserved | Preserved | Modified with app prefix |
Choosing “Original” preserves resolution and EXIF data. However, file names are still altered, video file sizes are strictly capped (often around 300MB per file), and download links expire after a certain period. Chat apps are simply not designed for archiving thousands of photos long-term.
Transferring Galaxy Photos to PC with a USB Cable or Smart Switch
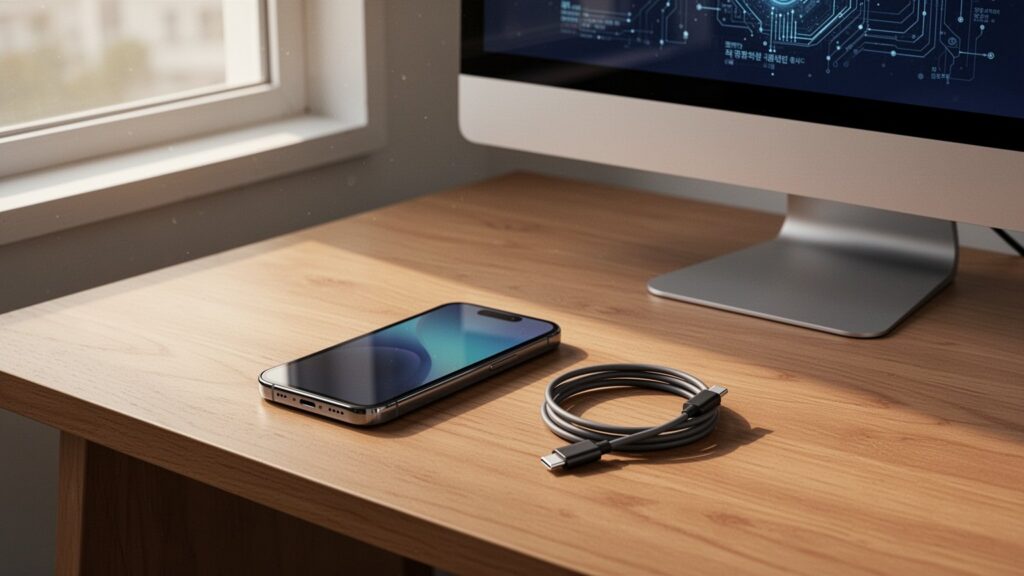
The fastest and safest way to back up thousands of photos and videos from a Samsung Galaxy phone is via a USB-C cable using File Transfer (MTP) mode.
Connect your phone to your PC with a USB-C data cable and select “Transferring files / MTP” on your phone screen. Open Windows File Explorer, navigate to Internal storage > DCIM > Camera, and copy the entire folder to your PC. All photos and videos will transfer in their original quality.
If you prefer an automated tool, use Samsung’s official “Smart Switch PC” application. Install it on your computer, connect your phone, and back up all media files in one batch without quality loss. For wireless transfers, install “Quick Share” on Windows to send original files over Wi-Fi Direct and Bluetooth.
Fixing iPhone Transfer Errors on Windows PC
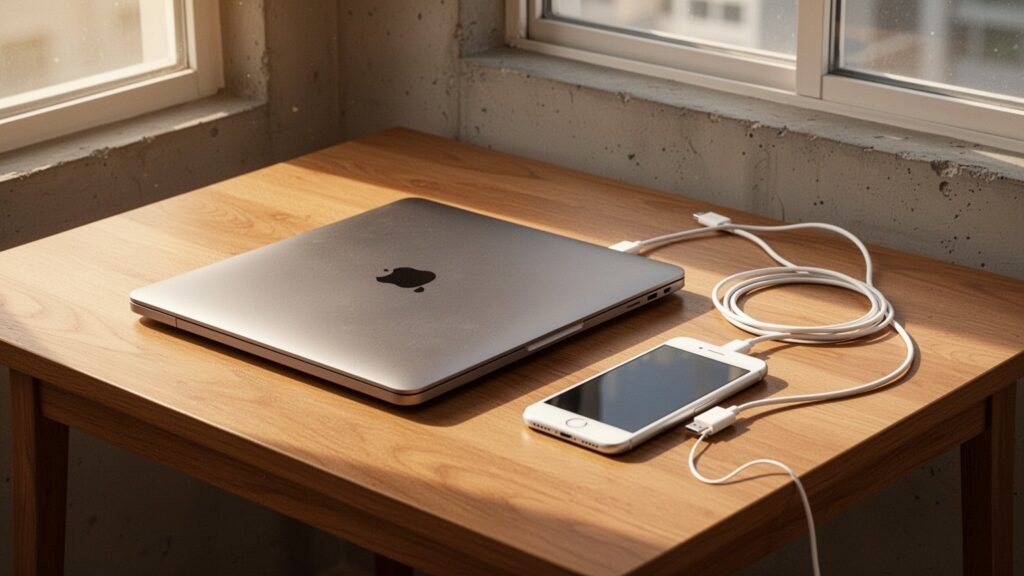
When transferring photos from an iPhone to a Windows PC via cable, transfers often freeze or disconnect unexpectedly. This happens because the iPhone attempts to convert HEIC photos to JPG on the fly during transfer.
To fix this error, change one setting on your iPhone before connecting. Navigate to Settings > Photos > Transfer to MAC or PC, and change the option from “Automatic” to “Keep Originals”.
Next, install the Apple Devices app (or drivers) on your PC and connect the cable. Tap “Trust” on the “Trust This Computer?” prompt on your iPhone screen. You can then open the DCIM folder in Windows File Explorer and copy all original photos smoothly without disconnects.
No PC? Back Up Directly with a USB-C OTG External Drive
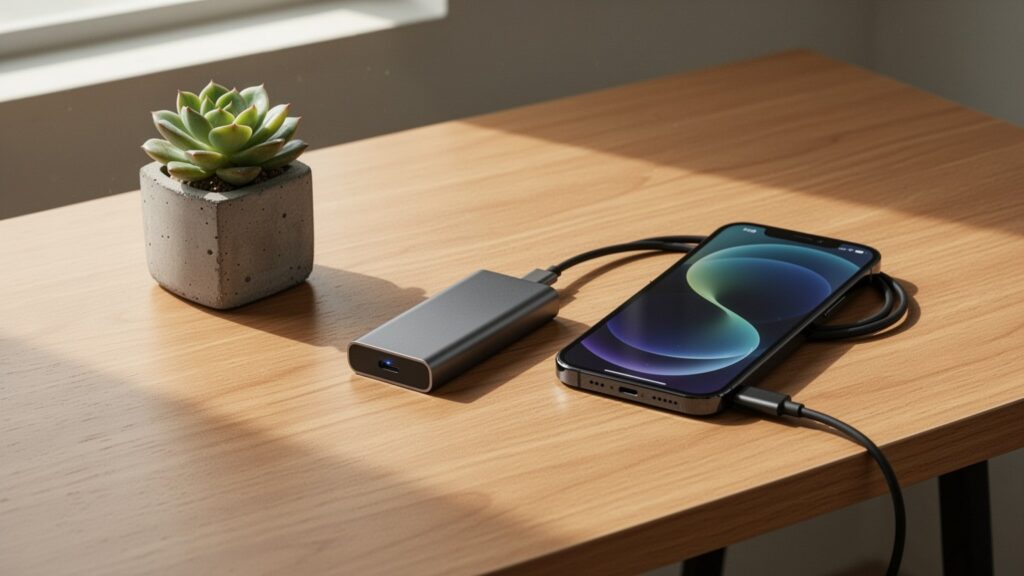
If you want to back up large photo collections without turning on a computer, use a USB-C external storage drive (OTG). Free cloud tiers (5GB on iCloud, 15GB on Google) fill up fast, leading to recurring monthly subscription fees.
| Backup Method | Cost | Speed and Limitations |
|---|---|---|
| Cloud (iCloud / Google) | Monthly subscription once free tier is exceeded | Depends on internet speed; slow for large uploads |
| USB-C External SSD / OTG Flash Drive | One-time hardware purchase | High-speed wired transfer with no network needed |
Plug a USB-C external SSD or dual USB flash drive directly into your phone’s charging port. Open the default “My Files” (Android) or “Files” (iOS) app, locate the DCIM folder, and copy it straight to the external drive. You can securely back up thousands of photos in minutes without needing a PC.
Check your photo settings today to ensure transfers are set to “Keep Originals,” and back up your photos securely to a PC or external drive using a USB-C data cable.
답글 남기기