Did you connect a brand-new high-refresh-rate gaming monitor to your PC, only to feel like games look just as sluggish as before? Even after spending money on a 144Hz display, Windows often defaults to a 60Hz refresh rate. Here is how to verify and unlock your monitor’s full speed.
Quick Summary
- Windows 11: Right-click desktop →
Display settings→Advanced display→ Select 144Hz underChoose a refresh rate- NVIDIA Control Panel: Under Change resolution, select a resolution from the
PCsection (not the top TV section) to unlock 144Hz- Check connection: Plug directly into the dedicated graphics card at the bottom of the PC case, not the motherboard ports at the top
- Cable requirements: QHD 144Hz requires DP 1.2 or HDMI 2.0+; 4K 144Hz requires DP 1.4 or HDMI 2.1
Why Is Your 144Hz Monitor Still Running at 60Hz?
Refresh rate refers to the number of times per second a monitor updates the image on screen, measured in Hertz (Hz). A 60Hz monitor displays 60 frames per second, while a 144Hz monitor outputs 144 frames per second.
Think of it like a flipbook. When you flip 144 pages per second instead of 60, motion becomes roughly 2.4 times smoother. Motion blur and screen tearing decrease, and mouse input latency drops noticeably.
However, Windows prioritizes safe display compatibility when a new monitor is connected, frequently locking the default refresh rate to 60Hz. If you set up a new display, you must manually adjust the settings to enable 144Hz output.
How to Change Refresh Rate to 144Hz in Windows 10 and 11
Adjusting the refresh rate directly in Windows settings takes less than a minute. Follow the steps below for your operating system.
Steps for Windows 11
1. Right-click an empty area on your desktop and select Display settings.
2. Scroll to the Related settings section and click Advanced display.
3. Select your display and click the Choose a refresh rate dropdown, then select 144Hz (or the highest rate listed).
Note: If a refresh rate in the dropdown has an asterisk (*), selecting it may automatically change your display resolution to accommodate that rate.
Steps for Windows 10
1. Right-click the desktop and choose Display settings.
2. Scroll down, click Advanced display settings, and click Display adapter properties for Display 1.
3. Go to the Monitor tab, set Screen refresh rate to 144Hz, and click OK.
Major display manufacturers like Samsung also suggest clicking List All Modes under adapter properties to manually select the optimal resolution and refresh rate combination recommended in the monitor’s user manual.
Check Your Cable Standard and GPU Port Location
If 144Hz does not show up as an option or keeps reverting to 60Hz, inspect your physical setup. Video transmission runs at the lowest bandwidth threshold shared between the GPU port, the cable, and the monitor port.
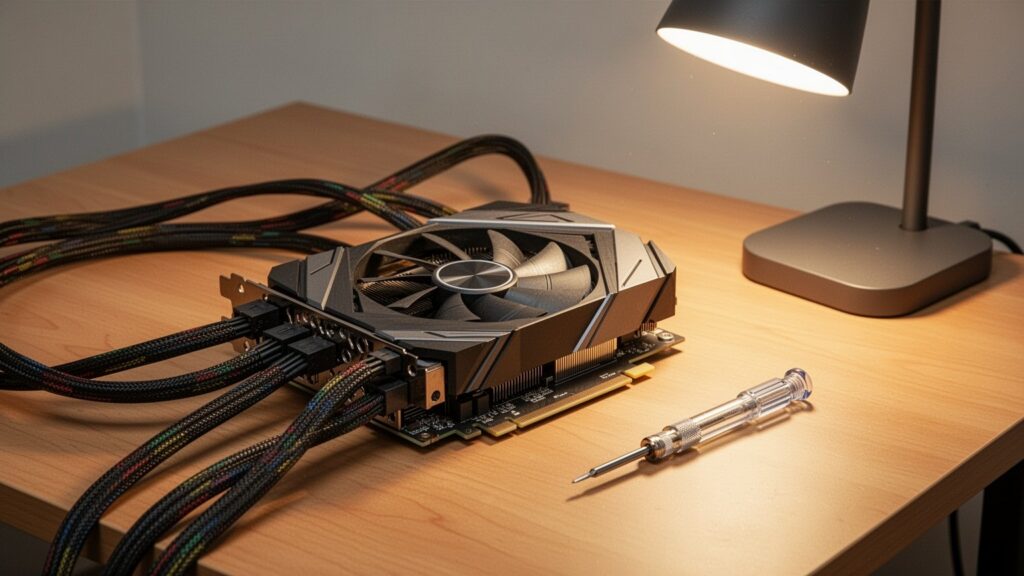
First, verify where the cable connects behind your computer. Plugging into the motherboard I/O ports near the top uses integrated CPU graphics, which often caps refresh rates. Connect directly to the dedicated graphics card ports located lower on the case.
Second, ensure the cable supports sufficient bandwidth. Different resolutions require specific cable standards to carry 144Hz signals.
| Standard | 1080p (FHD) | 1440p (QHD) | 4K (UHD) | Notes / Features |
|---|---|---|---|---|
| HDMI 1.4 | Up to 120Hz–144Hz | Up to 60Hz–75Hz | Up to 30Hz | Legacy standard; limited high-res support |
| HDMI 2.0 (18.0 Gbps) | Up to 240Hz | Up to 144Hz | Up to 60Hz | Cannot output 4K at 144Hz |
| HDMI 2.1 (48.0 Gbps) | 240Hz+ | 240Hz+ | 144Hz | Full high-res high-refresh support |
| DisplayPort 1.2 (21.6 Gbps) | Up to 240Hz | Up to 165Hz | Up to 75Hz | Standard PC gaming bandwidth |
| DisplayPort 1.4 (32.4 Gbps) | 240Hz+ | 240Hz | 120Hz (144Hz with DSC) | VESA standard specification |
Manufacturer firmware limits can also affect HDMI ports. Even if a port is HDMI 2.0, some monitors only allow 144Hz over DisplayPort (DP). Check the monitor manual if an HDMI connection stays limited to 60Hz or 120Hz.
Unlock the 60Hz Cap in GPU Control Panels
A frequent mistake happens inside the NVIDIA Control Panel under Display → Change resolution.
Selecting a resolution under the top Ultra HD, HD, SD section treats the screen as a TV broadcast format and caps the refresh rate at 60Hz. Scroll down to the PC section and select your native resolution there to reveal 144Hz and higher refresh rate settings.
If you use an AMD graphics card, open AMD Software: Adrenalin Edition and check the Display section to manually configure the refresh rate.
Note: On dual-monitor setups pairing a 144Hz main screen with a 60Hz secondary display, playing video in certain browsers or windowed modes may cause refresh rate sync drops depending on your GPU driver and Windows build.
Right-click your desktop now and check your display settings to make sure your gaming monitor isn’t stuck at 60Hz.