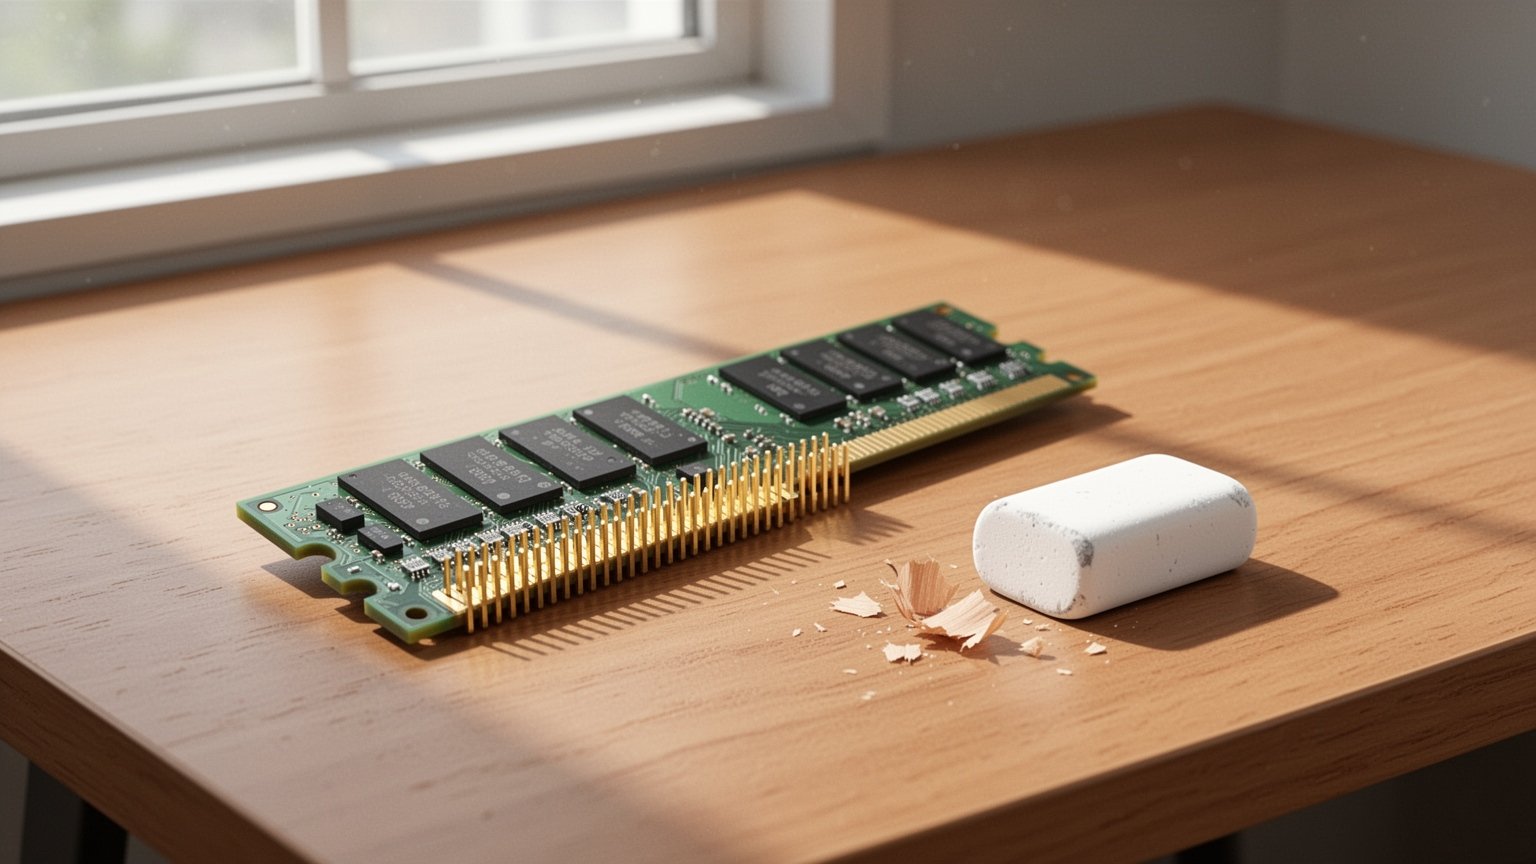
Have you ever pressed your PC power button, heard the fans spin up, and seen the case lights turn on, only for your monitor to show a blank screen with “No Signal”? When the screen stays black, it is easy to assume a major component has failed and worry about expensive repair costs. But why do IT technicians and hardware manufacturers recommend reaching for a simple rubber eraser first?
Quick Summary
- Unplug the power cable and press the PC power button 4–5 times to fully drain residual motherboard power.
- Remove the RAM vertically and gently rub both sides of the gold contacts (gold fingers) with a soft rubber eraser.
- Thoroughly brush or blow away all eraser crumbs, align the asymmetrical notch, and press firmly until both latches click into place.
- Clean the motherboard RAM slot pins using only compressed air or an air blower, never an eraser.
Why Your Screen Stays Black: Poor Contact on RAM ‘Gold Fingers’
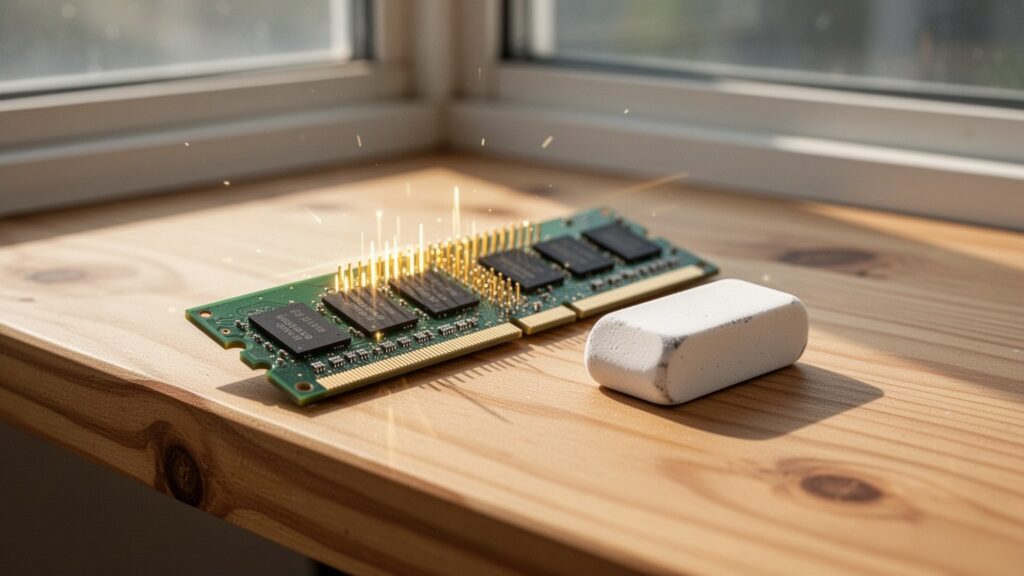
When you power on a computer, the motherboard runs a Power-On Self-Test (POST) to ensure all core components are working properly. If the system memory (RAM) is not detected correctly in its slot, the BIOS halts display output, leaving your monitor with a black screen or a “No Signal” notification.
The row of gold-plated contacts along the bottom edge of a RAM module is known as “gold fingers.” Although these contacts are manufactured with a gold layer of 0.8 μm or more by standard specifications, prolonged exposure to ambient oxygen and moisture creates a microscopic oxide film. When fine dust accumulates over this layer, electrical contact resistance rises, cutting off signal transmission to the motherboard.
How an Eraser Strips Away Oxide Layers (and Cleaning Precautions)
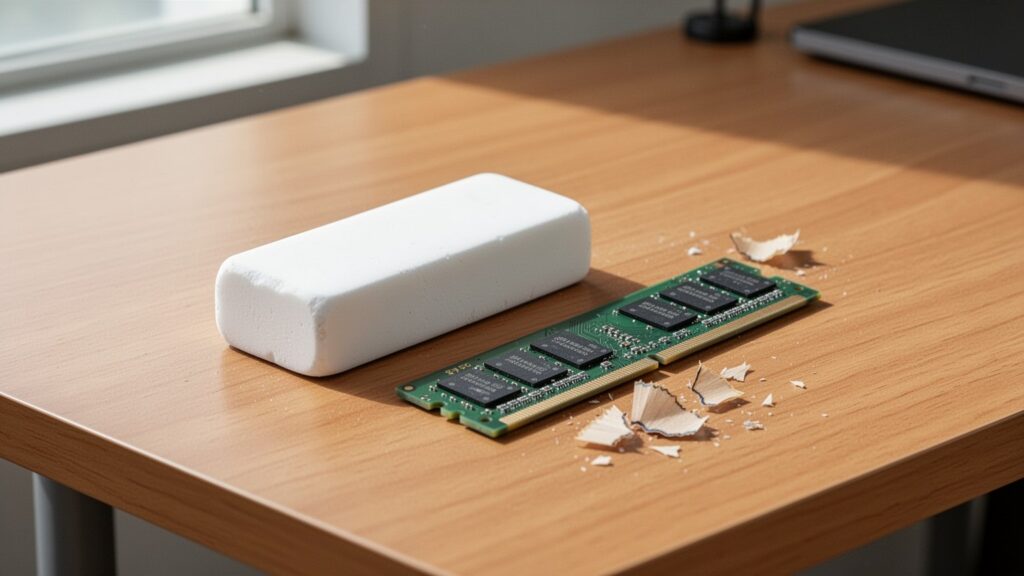
Gently rubbing the gold fingers with a soft rubber eraser creates mild mechanical friction that strips away hardened oxide films and grime without scratching the underlying metal contacts. Major hardware manufacturers such as Samsung Electronics and professional IT publications also recommend this eraser cleaning technique in their official troubleshooting guides.
However, there are critical precautions to follow. Using acetone to break down stubborn dirt will dissolve the module’s plastic PCB substrate, while water dries slowly and risks short circuits or corrosion. If you prefer a liquid cleaner, use pure isopropyl alcohol or dedicated electronic contact cleaners (such as BW-100 or DeoxIT). In addition, never use an eraser inside the motherboard’s RAM slots; clear out slot pins using only compressed canned air or an air blower.
3 Steps to Safely Clean and Reseat RAM Without Damaging Hardware
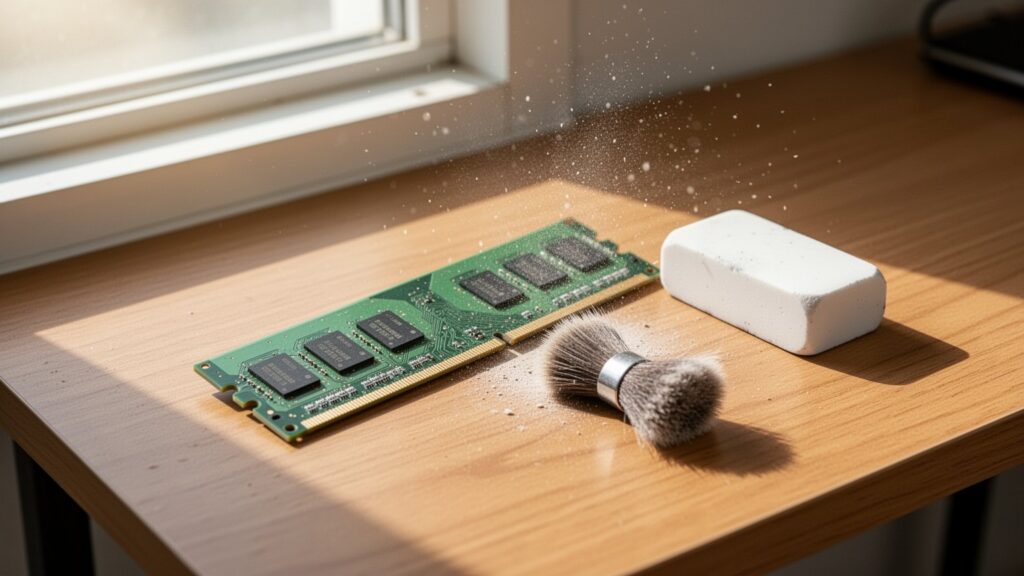
When removing and installing RAM, preventing static discharge and short circuits from residual power is essential. Follow this safe procedure:
| Step | Action | Key Precaution |
|---|---|---|
| Step 1: Power Discharge | Unplug the PC power cord and press the power button 4–5 times | Fully discharges residual motherboard current |
| Step 2: Removal & Cleaning | Push side latches down to release RAM, then rub gold fingers with an eraser | Completely brush off eraser shavings and let rest for 10–15 minutes |
| Step 3: Alignment & Reseating | Align the bottom asymmetrical notch and insert vertically | Press down evenly on both ends until latches click shut |
RAM modules feature an asymmetrical notch cut into the bottom edge. Because the notch position varies across standards like DDR3, DDR4, and DDR5, always verify the ridge position inside the motherboard slot before pushing down to prevent physical damage.
Debris Removal and Common Myths Around Eraser Cleaning
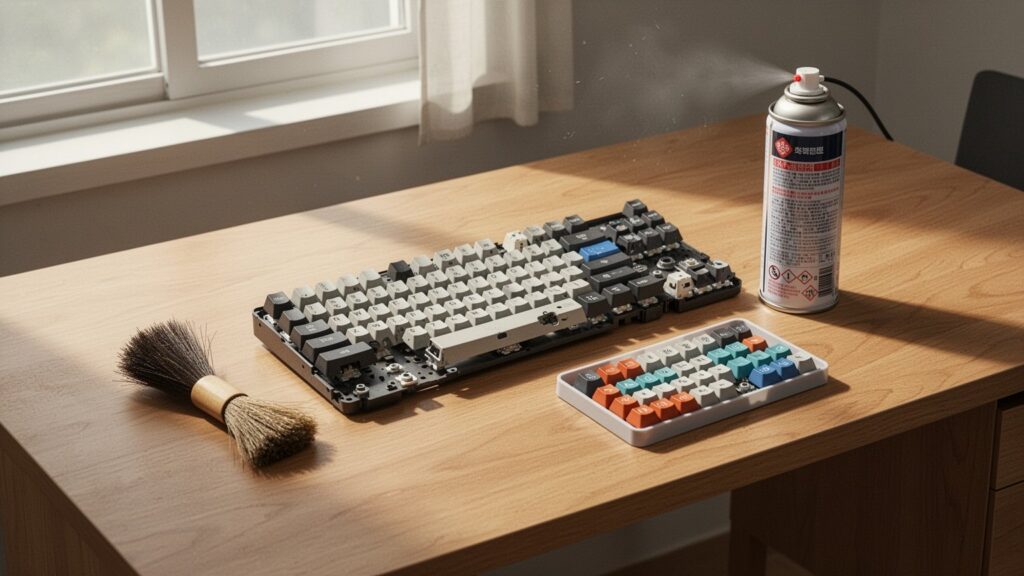
The most important finishing step after using an eraser is clearing away all rubber shavings. If leftover crumbs cling to the pins when inserted into the slot, they can cause new contact faults or short circuits between pins. Use a soft brush or air blower to sweep away every trace of debris, and let the stick sit for 10–15 minutes before reinstalling.
Some PC repair communities argue that the eraser itself does nothing, claiming that the mechanical friction of simply removing and reseating the RAM stick is what restores contact. Claims that “70% to 90% of black screen issues are caused by faulty RAM contact” are also empirical rules of thumb rather than official data. However, in environments where a stubborn oxide layer has developed, the gentle abrasive action of an eraser provides proven mechanical help in restoring clean metal contact.
If your PC turns on without a display signal, do not jump straight to replacing expensive parts. Cut the power completely today and try cleaning your RAM contacts with an ordinary rubber eraser first.
References
1-Minute Video Summary
Related Articles
- Bought a 144Hz Gaming Monitor but Stuck at 60Hz? How to Change Refresh Rate in Windows Advanced Display Settings
- PC Taking Over a Minute to Boot? How to Cut Boot Time to 15 Seconds via Task Manager Startup Apps
- How Much Laptop Battery Life Is Left? Generate a Windows Battery Report Without Extra Software